Everything You Need to Start Bedazzling
This post contains affiliate links.
There’s a reason rhinestone art ideas keep flooding your feed. The learning curve is almost flat. If you can place a sticker, you can make something that catches light from across the room. But the ceiling is high enough that people build entire businesses on it.
This guide covers what rhinestone art actually is, the supplies worth buying, the ones that are a waste of money, and three starter projects. If you’re building a shopping list as you read, skip to the supply section and work backward.

What Can You Bedazzle?
- Canvas: Stones applied to stretched canvas or panel board, either as a full-coverage mosaic or as an accent on painted art.
- Apparel: Shirts, denim jackets, hats, shoes.
- Everyday objects: tumblers, phone cases, picture frames, lighters, headphone cases, mirrors, pet collars.
- Diamond painting: The ready-for-you kit, where you place resin drills onto a pre-printed adhesive canvas by number.
That last one matters for your shopping list, because diamond canvas art kits and freeform rhinestone work use different materials that look identical in product photos. Diamond painting drills are small resin squares or rounds with a flat back and a shallow facet. Rhinestones are glass or acrylic, more dimensional, and cost more per stone. Buying a bag of diamond painting drills for a canvas project you intended to be glass is the most common first-order mistake there is.

Quick Bedazzling Tutorials:
Rhinestone Canvas Art
Rhinestone canvas art is the best first project because mistakes are recoverable and there’s no washing.
- Choose a canvas panel over stretched canvas for anything with heavy coverage.
- Paint the background first, then let it dry completely, which means a full 24 hours if you used anything thick. Adhesive doesn’t bond well to tacky paint.
- Sketch your design lightly in pencil. Simple shapes read best in stones: a heart, a word, an initial, a moon phase, a butterfly silhouette.
- Work outlines before fill. Place the border stones of every shape first, then fill inward. Filling first and outlining after always produces a wobbly edge.
- Apply glue to the canvas, not the stone, in small sections of about two inches at a time. Gluing on the stone squeezes out around the edges and dulls the facets.
- Place stones with the wax pencil, press gently, and adjust with a toothpick within the first 30 seconds.
- Let it cure flat for 24 to 72 hours before hanging. Gravity is undefeated.
- Seal with two light coats of acrylic sealer if the piece will live somewhere dusty.
Coverage math: plan on roughly 100 SS16 stones per square inch for tight coverage. That means an 8×10 canvas at full coverage runs around 8,000 stones. This is why full-coverage pieces usually get done in resin or with a diamond painting kit, and why most people do partial coverage over a painted background instead.
Recommended Products for Your Project:


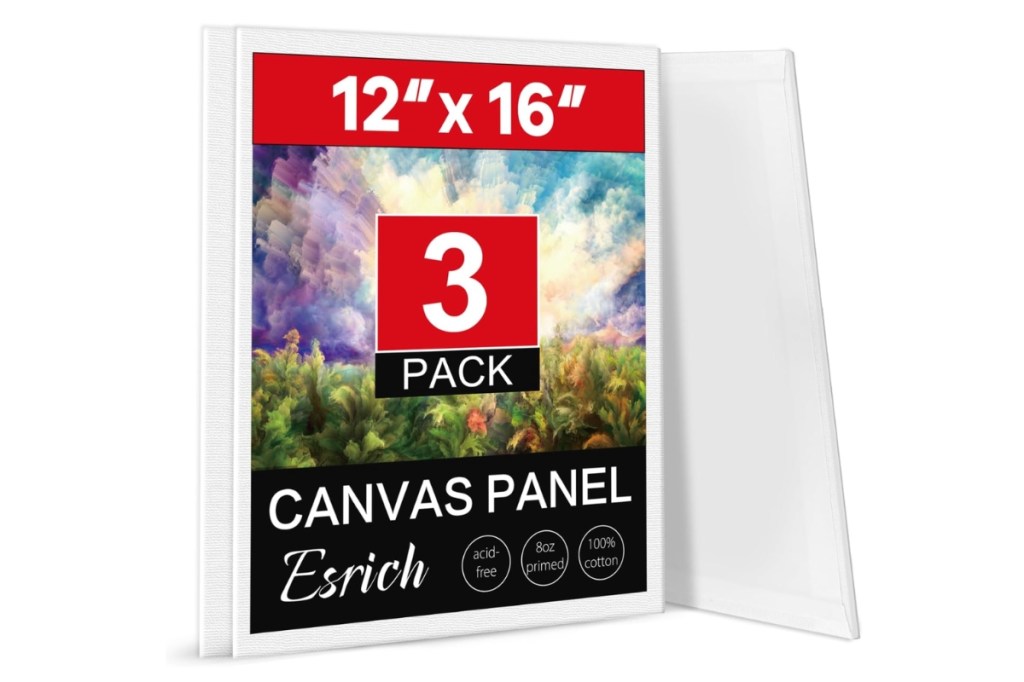
Project Two: Rhinestone Apparel

- Wash and dry the item you want to bedazzle first, no fabric softener. Softener leaves a residue that fights adhesive.
- Slide a piece of cardboard inside the shirt so glue doesn’t bleed through to the back.
- Draw guidelines with a water-soluble marker or chalk pencil.
- Use Gem-Tac. It stays flexible after curing, which matters on stretchy fabric.
- Apply a small dot of glue on the fabric, place the stone, press.
- Cure for 24 hours minimum; 72 for peace of mind. Wash inside out, cold, gentle cycle. Hang dry. Never a dryer.
Best beginner designs: a single word in a simple sans-serif font, a heart, initials, or a small outlined shape on the pocket area. Skip fine script for your first attempt, since the curves need SS6 stones and a lot of patience.
Recommended Products for Your Project


Project Three: Bedazzle on Everyday Objects!
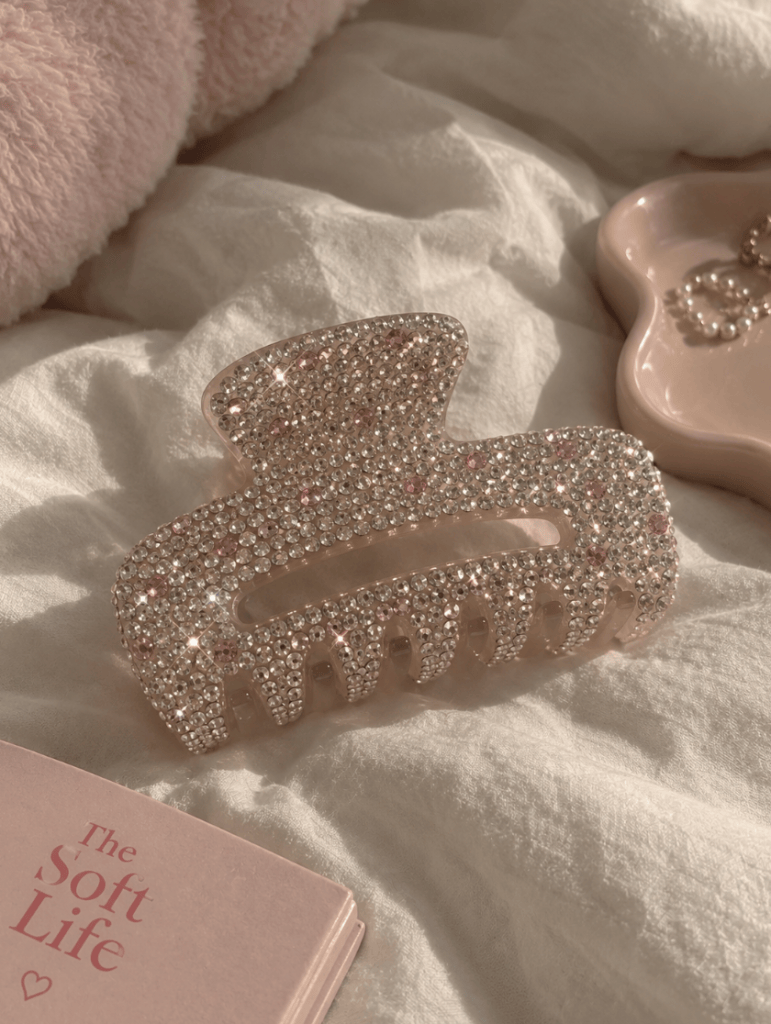
- Phone case (buy a cheap clear one specifically to destroy)
- Tumbler or water bottle, but do a band around the middle rather than full coverage
- Picture frame edges
- Hair clips and barrettes
- Sunglasses arms
- Light switch plates
- Pet collar or leash hardware
- Shoe heels
Use E6000 on all of these! Anything that gets handled daily needs the full 72-hour cure.
Mistakes Worth Avoiding
- Too much glue. It seeps up the sides and hazes the facets. Use less than you think.
- Skipping the cure time. Rhinestone work fails at the adhesive stage more than anywhere else. E6000 needs a minimum of 24 hours and reaches full strength around 72.
- Buying one giant mixed-size assortment. You’ll use two of the six sizes.
- Working without a sorting tray. Flipping stones face-up one at a time with tweezers will end your enthusiasm for this hobby faster than anything else.
- Fabric softener on a shirt you plan to stone. It kills adhesion.
- Not testing on a scrap. Every combination of stone, glue, and surface behaves a little differently. Spend five stones finding out.
Start with something small enough to finish in one sitting. The first piece is where you learn how much glue is too much and how your particular stones sit. Much easier to learn that on a 5×7 than on the 16×20 you’d been saving for the living room wall. Happy crafting!

 While Kit Sleeps
Leave a comment